A classic 30% wholemeal sourdough…and a unique starter treatment idea
This 30% wholemeal sourdough is your everyday kind of bread. It’s like the classic Chanel 5 that goes with everything. Or like the comfort of your daily tee and jeans attire that you can easily dress up. Or like the signature of the classic little black dress, it will never go out of style.
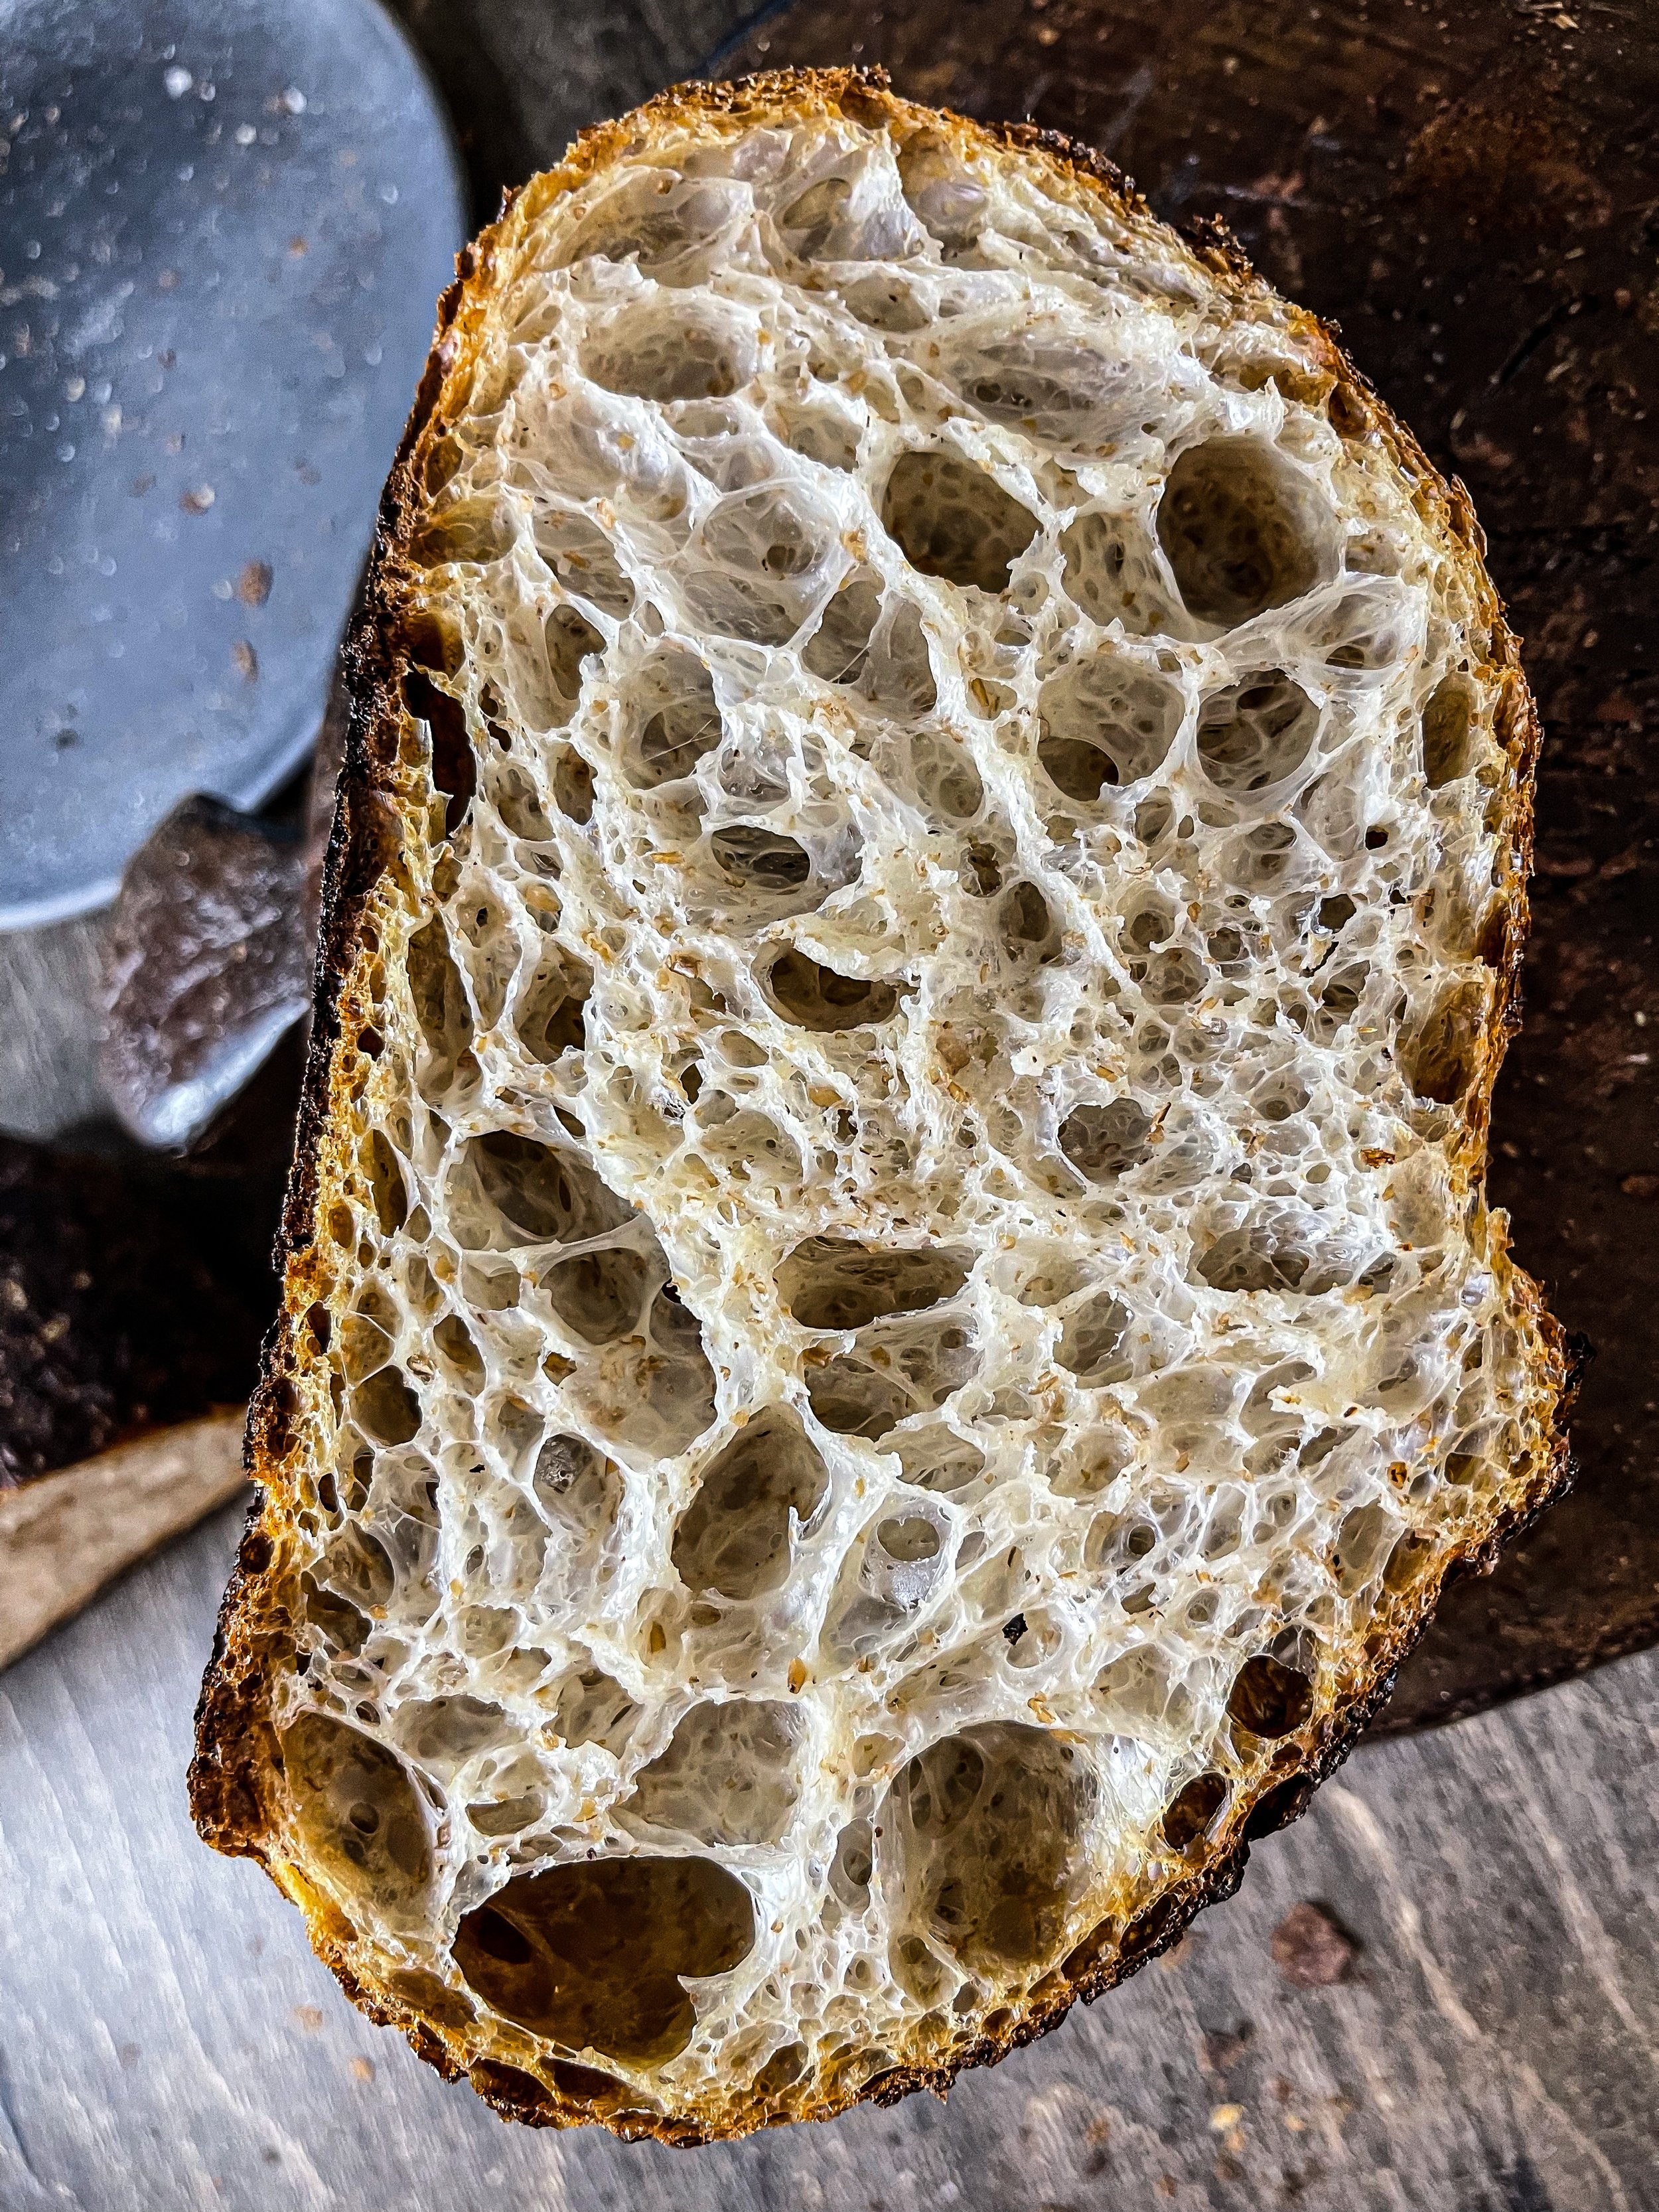
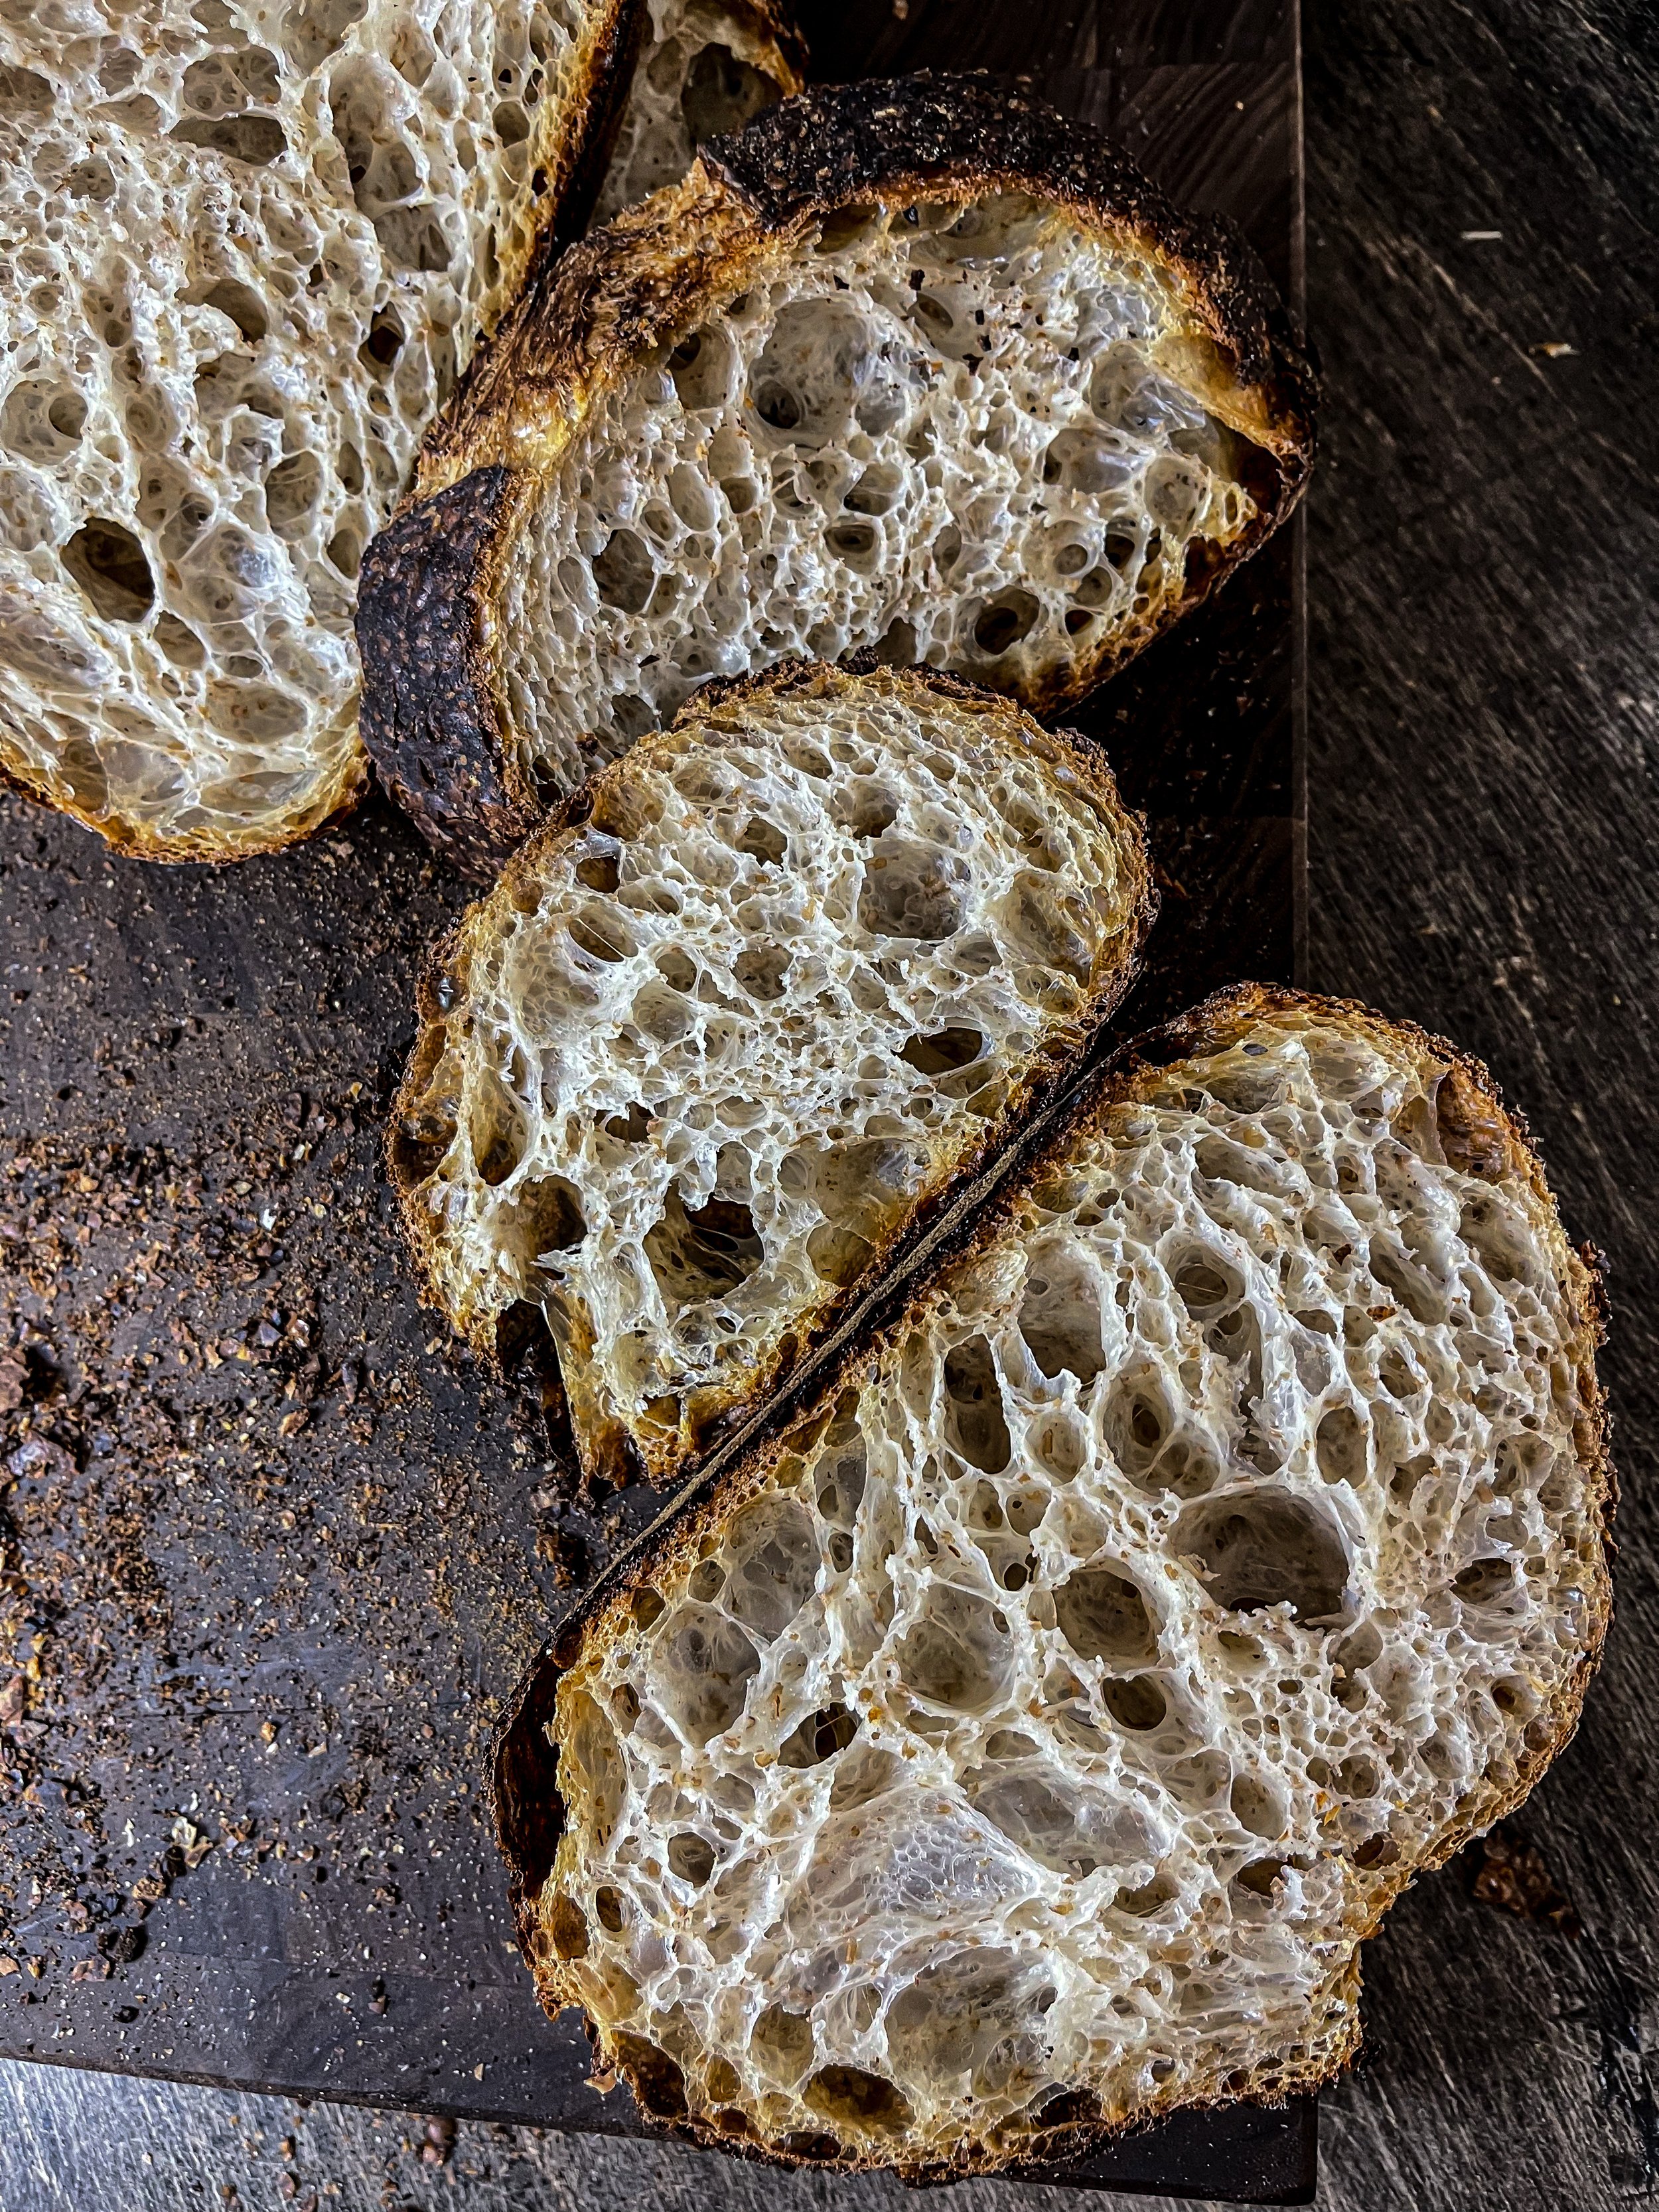
Wholemeal sourdough is deep in flavor and character. Wholemeal means the whole grain is there, even the bran, it’s not sifted. When baked and sliced, you could easily spot the bran all throughout the crumb. It’s beautiful!
Considering that the whole grain is present, that brings the need for higher hydration and longer autolyse. For this loaf I did 2.5h autolyse, which is still good, but it could benefit even more from much longer autolyse. I’ll be sharing a method with overnight autolyse very soon. In my book I talk a lot about it and how great it is for your dough.
In this case, for this loaf, with this type of flour, the longer autolyse would assure that the whole grain would hydrate very well and soften so it doesn’t tear the gluten, since the flour is coarse. That also means that the rate of fermentation would change and also the building of the dough structure. My observations are that bulk fermentation time is longer because having the whole grain means it would take the yeast longer time to convert the starches into simple sugars and produce CO2. Also, I’ve observed that even with higher hydration and longer autolyse, wholemeal flour is absorbing the water very well and maintaining good shape, so just few coil folds are needed to built a good dough structure.
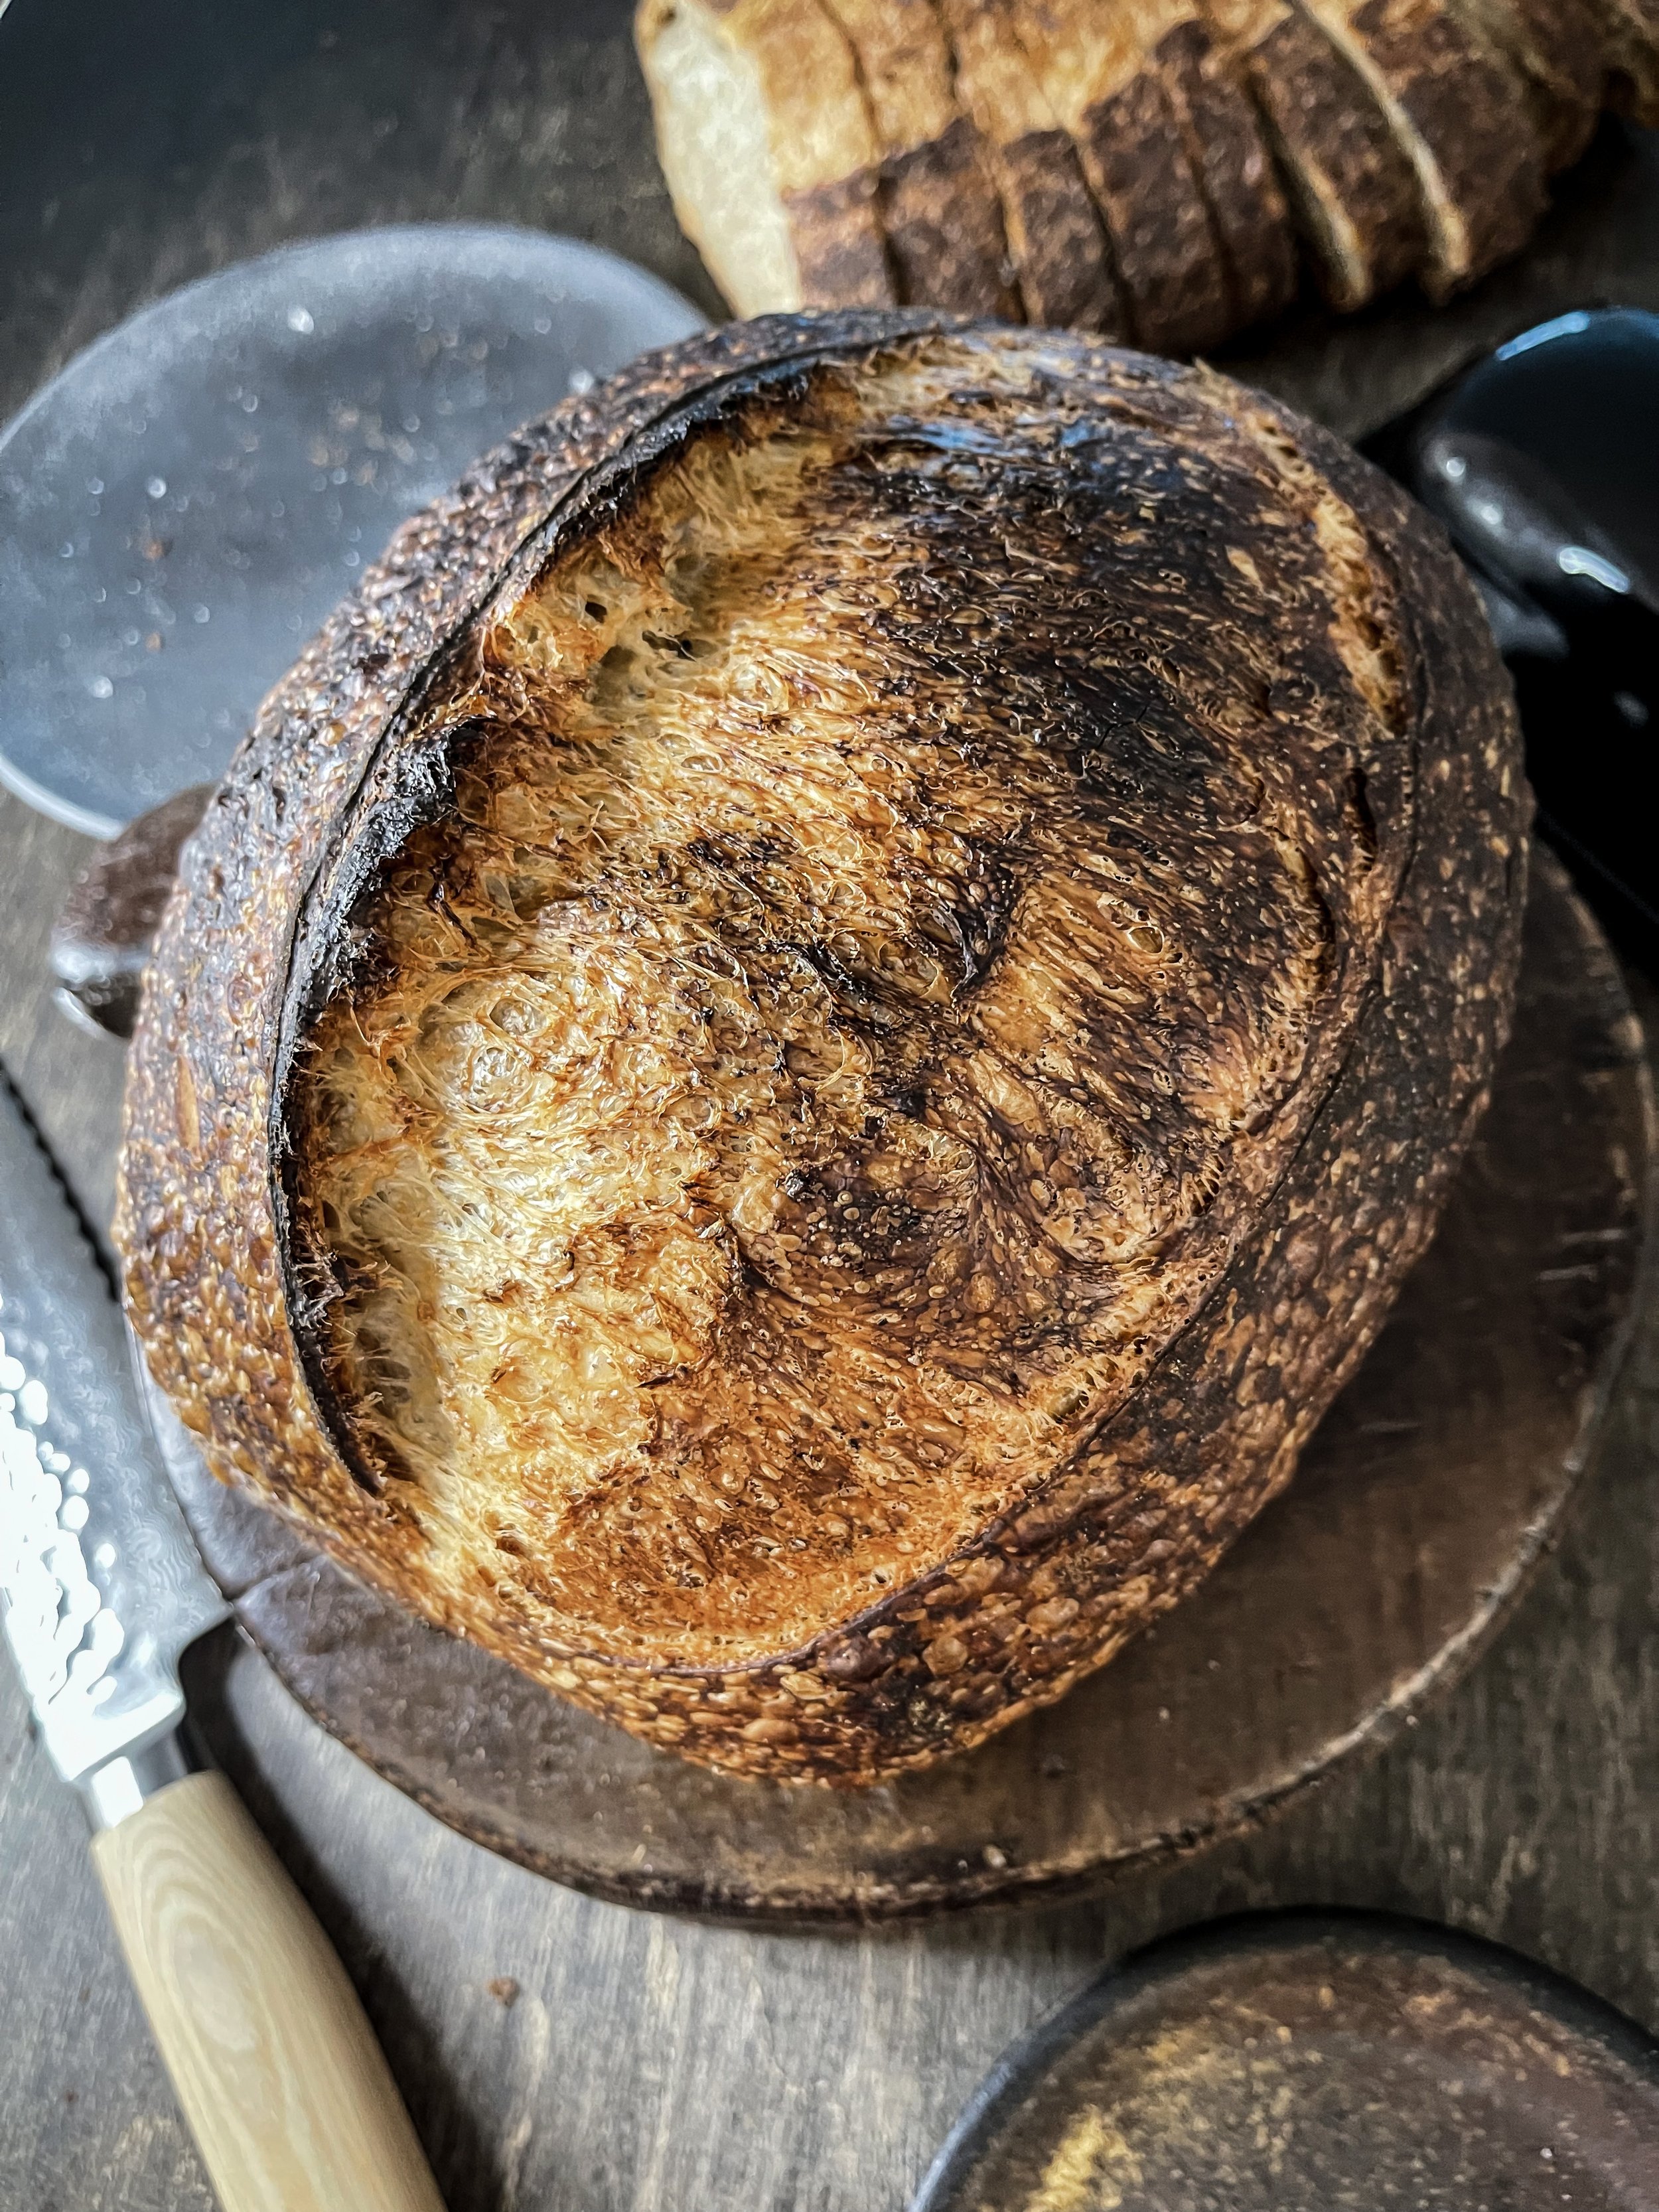
I’ve noticed that if I perform one too many folds, the dough would struggle rising up during bulk fermentation because of too much strength, which means it would be difficult to shape because it won’t be able to relax enough and it will fight you with elasticity. And that means that the loaf would also struggle expressing itself with a good oven spring during baking. So, as you can see, oven spring is not just about under proofing or over proofing but also about dough strength and structure.
let your starter float
In the title of this post I mention about a unique starter treatment which I did for this bake. In my book you’ll learn that most of my ideas come to me right before I fall asleep. So, let me get to it because it’s interesting.
For this loaf I built a levain. But this levain was built from a floating in water starter. I’m pretty sure you’ve heard of the float test that tells you if your starter is ready and active. And I’m sure you know about Pasta Madre being given a bath as well.
If you are reading this and don’t know what Pasta Madre is, it is a very stiff starter with 40% hydration that is used in the production of panettone and other enriched doughs. Its acidity is controlled by soaking it in water for few minutes to dilute it. So, I was inspired by both of these tricks and decided to give my starter a bath before I build the levain. My starter is 100% hydration! I fed my starter as usual. The one that was left in the bowl, I filled up with water and let it float there for 15min. It floated to the surface almost right away.
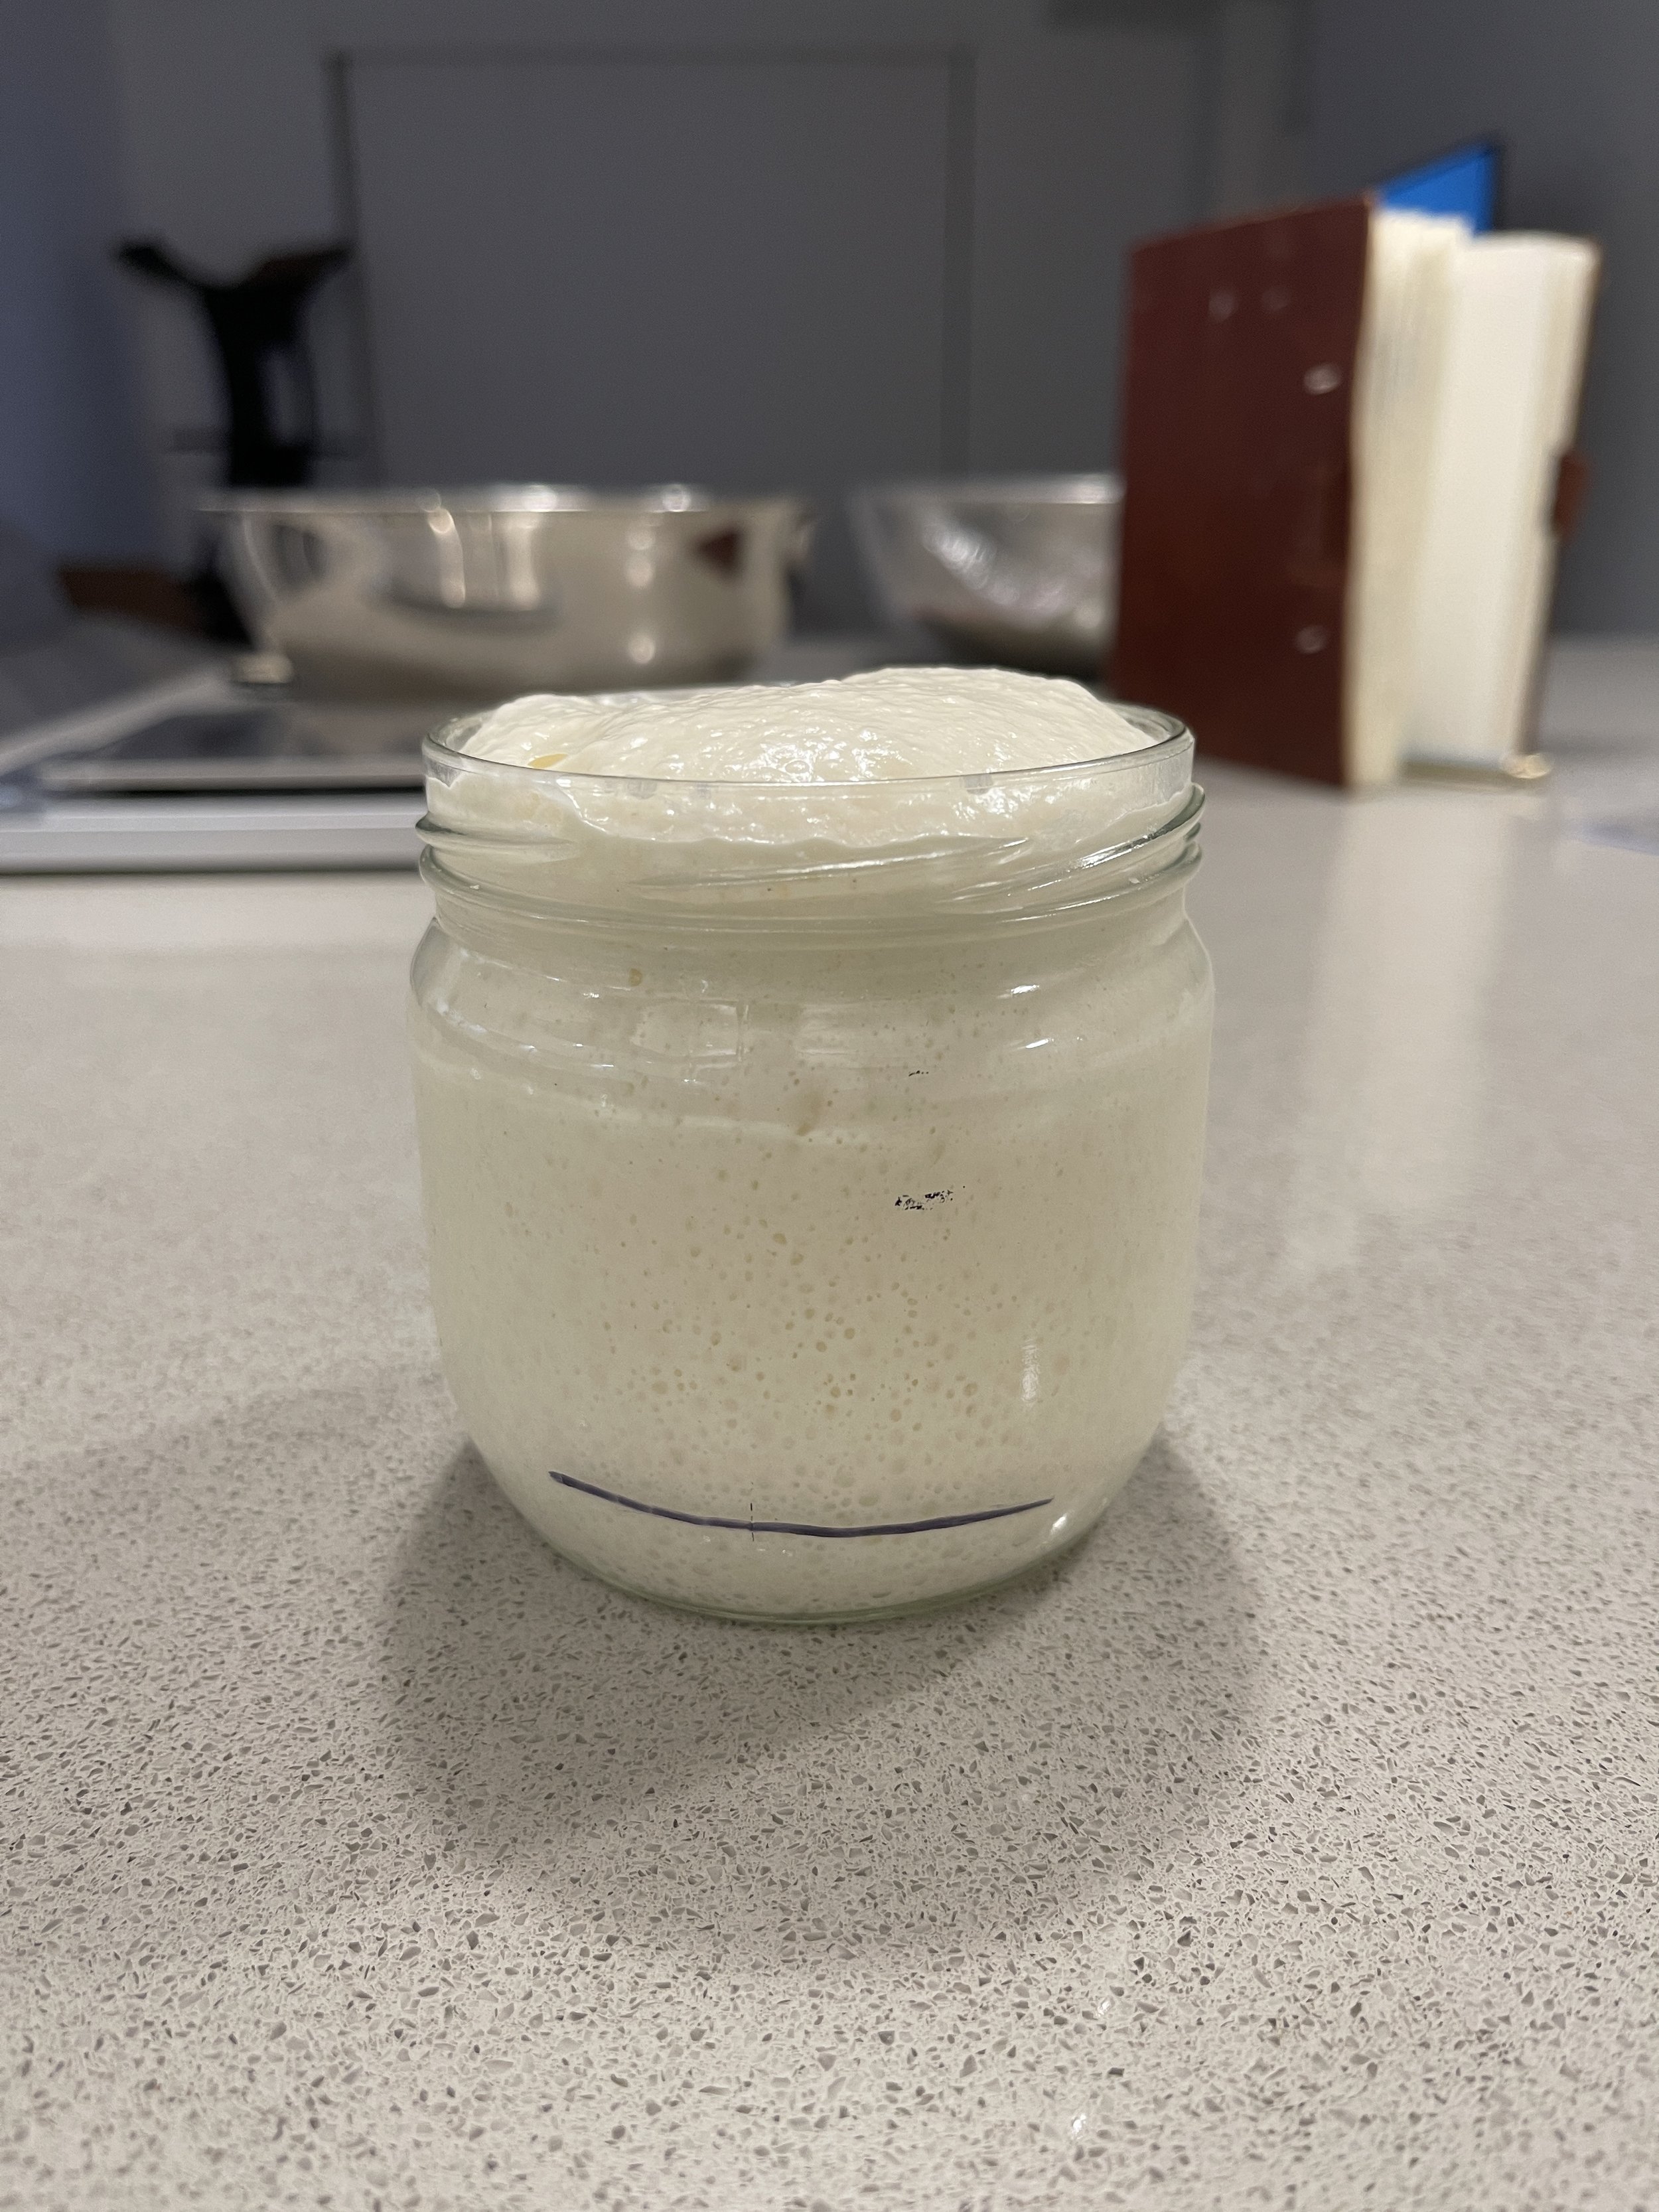
After 15 min, I grabbed some of the floating starter, 25g to be exact, and mixed it with 25g flour and 25g water. I placed the jar in the proofer at 81F(27C) and let it ferment. And oh, boy did it ferment well! As you can see from the photo how much this levain grew in 5h 45min with 1:1:1 ratio. I was so pleasantly surprised! I’d like to think that this little bath helped to dilute some of the acidity. I’m currently doing more testing with the bathing of a 100% hydration starter and will report back. But for now I’d like to think that it makes a difference. Please make sure that if you decide to try this, your starter has to be with the right texture and consistency. It has to be thick and strong, not thin and runny.
STEP BY STEP METHOD
INGREDIENTS:
245g bread flour(I used Bob’s Red Mill artisan bread flour)
105g wholemeal(I used Petra 9, beautiful Italian flour)
304.5g water(87% hydration)
70g levain
7g salt
Prepare your levain. Mix 25g active starter with 25g flour and 25g water. Keep it at warm room temperature 80F(27C) and let it ferment well. Mine was ready in 5h 45min. If you’d like to bath your starter, please read above how to do so. Very soon I will write a post about that.
Do an autolyse. You can do that while your levain is getting strong. In my case I did 2.5h long autolyse but as I explained earlier in the post, the longer the autolyse, the better.
After the autolyse and when your levain is ready, add it to the dough and incorporate it well with your chosen method of mixing. Cover your bowl and let it rest for 30min.
Add the salt and mix it well with your chosen method of mixing. Let the dough rest for 30min.
Take the dough out on a wet counter and do one lamination.
Perform coil folds based on what you see in from of you. For my dough I performed 4 coil folds, each 45 min apart. Watch your dough, observe how relax it gets in between folds and follow up with as many folds as it needs. Your wholemeal might be with different characteristics than mine so get to know it well and act accordingly. After the last coil fold, let the dough finish bulk fermenting. My bulk fermentation was 8h 15min at 75F(24C) Watch your dough, not the clock!
Shape the well fermented dough with your chosen method of shaping. I never pre shape my dough. Make sure you build good tension but not too tight.
Proof your dough in the fridge. My proof time was 10.5h at 38-40F(3-4C)
Bake straight from the fridge in your chosen vessel. I bake my loaves in The Challenger Bread Pan.


